


Perfectly Petite Pumpkin Bookmark
- Alexis

- Oct 7, 2025
- 6 min read
Updated: Oct 9, 2025

Written by Alexis of Remy A Crafty Hedgehog
Taught by Crochet Instructors
Watch for a Full Video Tutorial Here!
Materials:
5.0mm crochet hook
Orange Yarn - Red Heart Carrot
Green Yarn - Red Heart Paddy Green
Polyfil - stuffing
2 Stitch Markers
Darning Needle
Scissors

Key Terms
SK - Slip Knot - Make a crossed loop around your finger and thumb and then pull another loop through it Slip Knot Learn How
SL ST - Insert hook into stitch, yarn over, pull through both loops on hook - Slip Stitch Slip Stitch Learn How
CH - Chain Stitch - Yarn over, pull through loop on hook - Chain Stitch Learn How
SC - Single Crochet - Insert Hook into stitch, yarn over, pull through stitch, yarn over, pull through both loops on hook Single Crochet Learn How
DC - Double Crochet - Yarn over, insert hook in stitch, yarn over, pull through stitch, yarn over and pull through first two loops on your hook, yarn over and pull through the next two loops on your hook - Double Crochet Learn How
Pumpkin
We are going to make the pumpkin out of a long rectangle that we sew and then cinch up the sides.
Tips
If you lose track of what Row you are on you can work till your rectangle is about 5” long and your working yarn is on the same side as the tail. You want to make sure to finish your Rows of the pumpkin on the same side as the starting tail.
Pumpkin - Body

Using the orange yarn:
Make a slip knot with a 10” tail (approximately the length from your wrist to your elbow)(this is now referred to as the ‘shorter yarn tail’), you will use this to sew one side of the pumpkin shut later.
6CH (6 Chain Stitches) [Photo 1]

Row 1: Working into the chain stitches you just made: 1SC into 2nd CH from your hook (place one of your stitch markers in this stitch), followed by 4SC into the remaining CHs, 1CH (5) [Photo 2] Don't know how to crochet into a chain? Crochet into a Chain Learn How

Row 2: Turn, 1SC into 2nd CH from your hook (place one of your stitch markers in this stitch), followed by 4SC into the remaining STs, 1CH (5)
Repeat Row 2 another 17 times. If you are printing this pattern out use the table below to check off each row as you finish it to help you keep track!
3 | 12 |
4 | 13 |
5 | 14 |
6 | 15 |
7 | 16 |
8 | 17 |
9 | 18 |
10 | 19 |
11 |
At this point your work will be approximately 5” long and 1.5” wide [Photo 3]. Remove stitch markers. Cut a very long tail (approximately 18” (which is about the length from your finger tip to your elbow), which you will use later to sew the pumpkin shut and add the ribbing)(this is now referred to as the ‘longer yarn tail’). Pull through and pull the final CH stitch you just made tight. [Photo 4]


Fold the two short ends of the pumpkin together [Photo 5]. Take the shorter yarn tail and your darning needle and sew both of the short side together by stitching across approximately 5 times. [Photo 6] Add 1 addition stitch in the tippy top of the corner you just reached and tie and knot. [Photo 7-8]


Now we are going to cinch one side of the pumpkin shut with the shorter yarn tail. Sew around the long edge of the pumpkin approximately 20 times, aim to insert the needle as close to the edge as possible [Photo 9]. Then pull to cinch it mostly shut [Photo 10], leave about a pencil sized gap in the middle for us to run the stem through later [Photo 10]. Run your needle to the inside and weave under any stitch and tie a tight knot [Photo 12]. No need to weave in further.


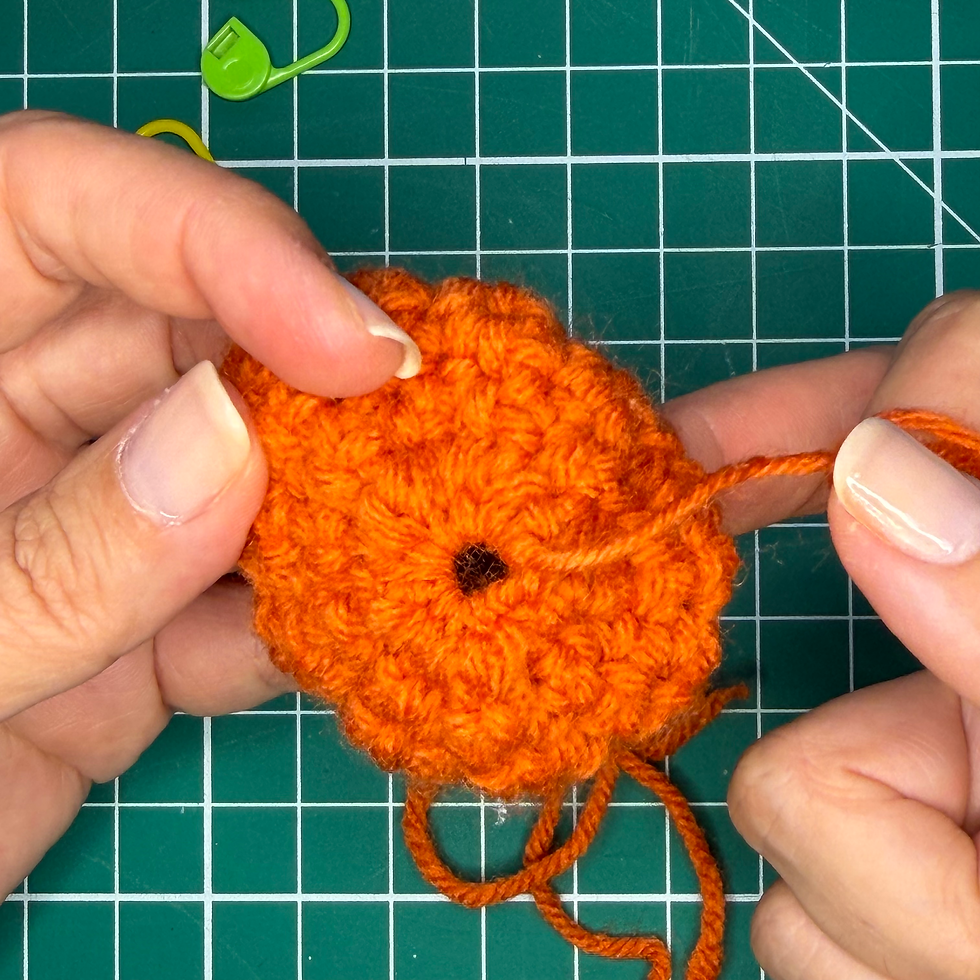

Take the longer yarn tail and your darning needle and sew around the other long edge of the pumpkin approximately 20 times, aim to insert the needle as close to the edge as possible [Photo 13]. BEFORE CINCHING, LIGHTLY STUFF THE PUMPKIN WITH POLYFIL [Photo 14]. Then pull to cinch it mostly shut, leave about a pencil sized gap in the middle for us to run the stem through later [Photo 15]. Run your needle under any stitch, tie and knot [Photo 16]. Do not cut yarn. Remove stitch markers.


Pumpkin - Ribbing
Now we are going to add the ribbing by taking your darning needle and the longer yarn tail by going around the outside and then back up through the middle 6 times while pulling snuggly [Photo 17-18]. Once finished, weave your needle under any stitch and tie a tight knot [Photo 19]. Run your needle through the pumpkin to hide the end and trim [Photo 20].


Leaf/Stem

We are going to make the leaf and stem together as one piece by building up a leaf in one stitch and then going up to make the stem. If you aren’t confident making the leaf you can make a slip knot and skip ahead to the Stem portion of the pattern.
Leaf

Using the green yarn:
Make a slip knot.
1CH, place a stitch marker in this stitch, 3CH [Photo 21]

Work 3DC into the stitch you placed your marker on (ie the 1st CH that you made) [Photo 22], 3CH [Photo 23], then fold our chain down and go back into that DC we just made and made a SL ST to complete the point of the leaf, this is also known as a Picot stitch [Photo 24-25]. Learn How to Picot


Now let’s finish the leaf by putting 3DC into the stitch with your marker (which is the same stitch that you put the other 3DC into) [Photo 26]. 3CH [Photo 27] and then SL ST into the same ST with your marker (the same stitch were the other DCs are based) [Photo 28]. DO NOT CUT THE YARN.


Stem

Continuing to use the same yarn as the leaf:
45CH, place a stitch marker on this stitch [Photo 29], 1CH (or adjust depending on how tall your book is), turn back and SC into the 2nd CH from your hook (where you put your stitch marker) [Photo 30], going down the chain stitches make 2SC, 1CH [Photo 31], cut tail approximately 5” long, pull through and pull tight [Photo 32]. Don't know how to crochet into a chain? Crochet into a Chain Learn How


Now, using a scrap of yarn we are going to make a leash to pull our stem through the center of our pumpkin. Thread your needle, and run it through the tip of your stem. Then thread the needle again so you close a loop around the stem [Photo 33]. Run the needle up through the center of the pumpkin going up from the bottom and out the top [Photo 34-35]. Give it a good tug to pull through till the entire stem portion is out and remove the leash. Then adjust till the stem abuts the pumpkin just right [Photo 36].


Using your darning needle make a couple stitches to sew the stem into place on top of the pumpkin. Tie a knot. Run your needle through the pumpkin to hide the end and trim [Photo 37]. Weave in the left over yarn end on the leaf [Photo 38-39]. And you are done!


I really hope you enjoyed making your very own Petite Pumpkin Bookmark!
Be sure to tuck it into your favorite spooky book!


Comments