


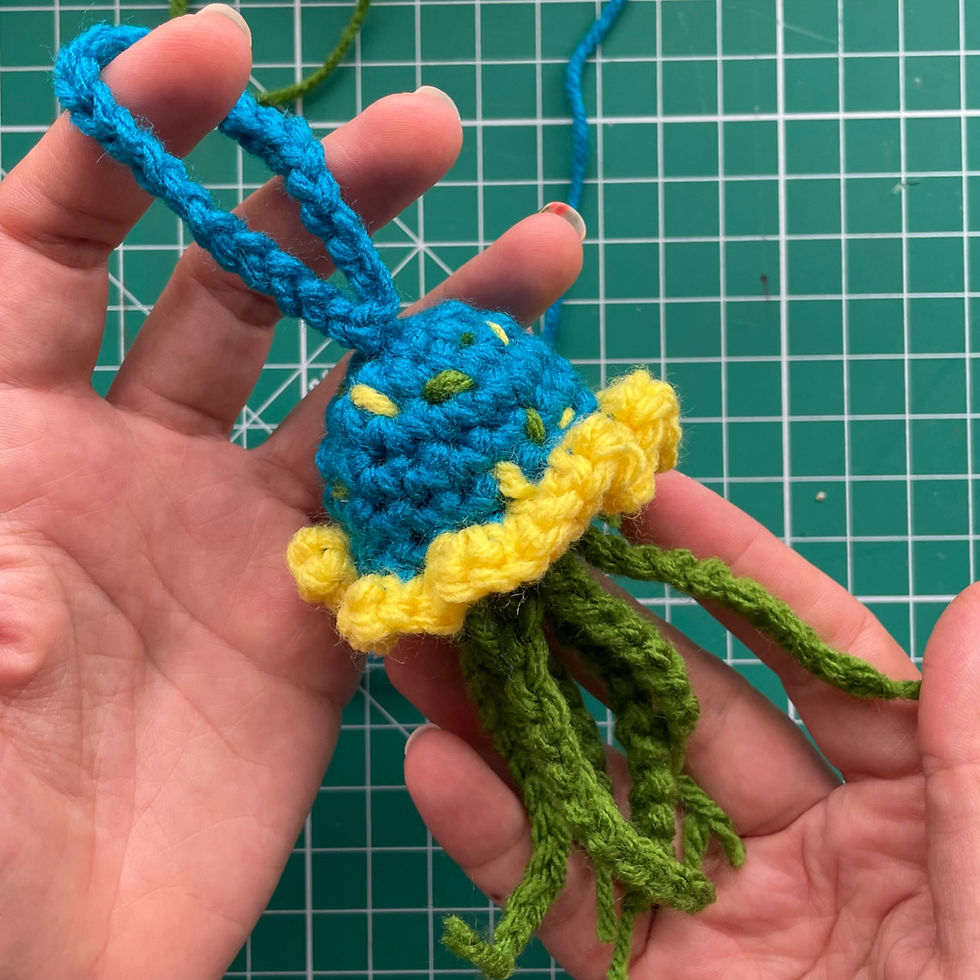
Mini Jellyfish
- Alexis

- Jul 21, 2025
- 3 min read
Updated: Aug 15, 2025
This Mini Jellyfish debuted as my signature crochet pattern for Colour the Block Art Festival hosted by Coloured Art Studio

This pattern is a great intro to amigurumi for beginner crocheters. You get to practice single crochet, increases, chain stitches, and a few other basic stitches and steps. Soon you'll be whipping up mini jellyfish in no time at all!
Level of Difficulty: Beginner
What you'll need:
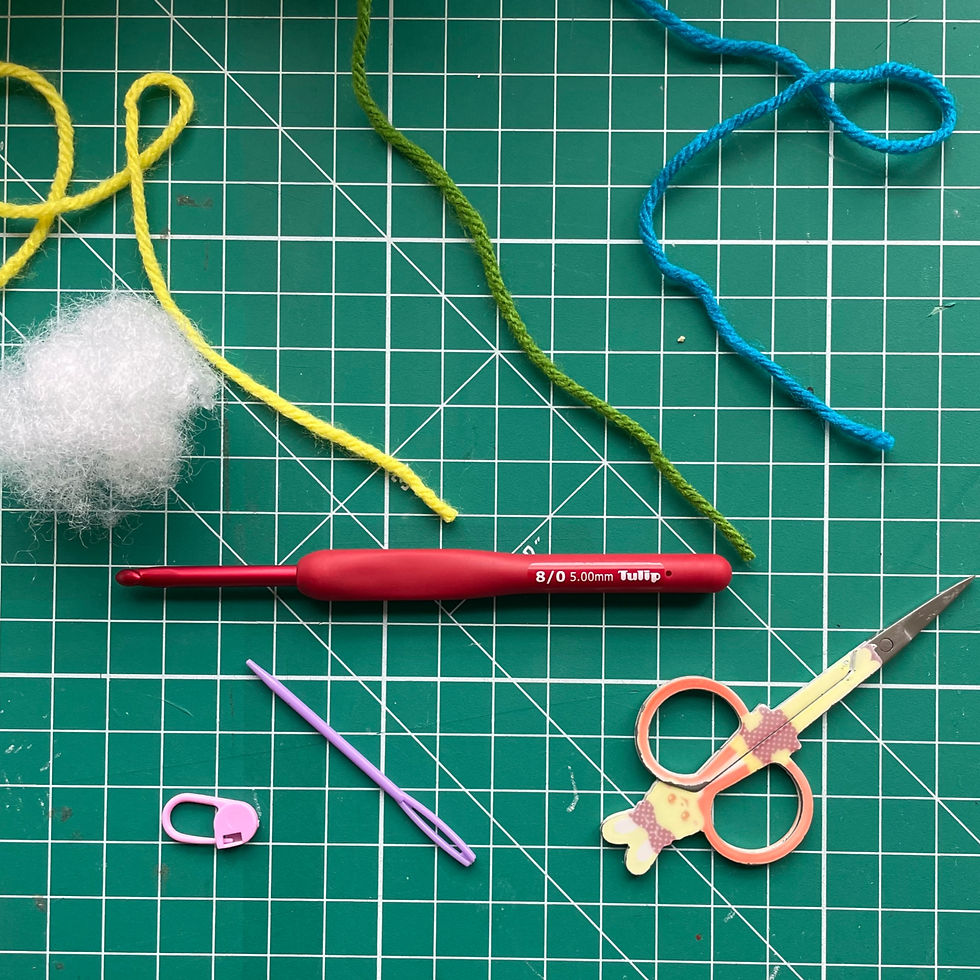
Worsted Weight Yarn (for my example I used Big Twist Value in Sapphire, Forest Green and Varsity Yellow) - 7g in total of all yarn
5.0mm Crochet Hook
Poly-fil - approximately <1g (about golfball sized amount)
Stitch Marker
Darning Needle
Scissors
Terminology:
MR - Magic Ring - Don't know how? Learn here with Yarn Over Hook
ST - Stitch
CH - Chain Stitch
SC - Single Crochet
INC - Increase
SL ST - Slip Stitch
BLO - Back Loop Only
FLO - Front Loop Only
RND - Crochet in Rounds
(#) - Total of stitches at end of RND
Making the Pieces
Jellyfish Top:
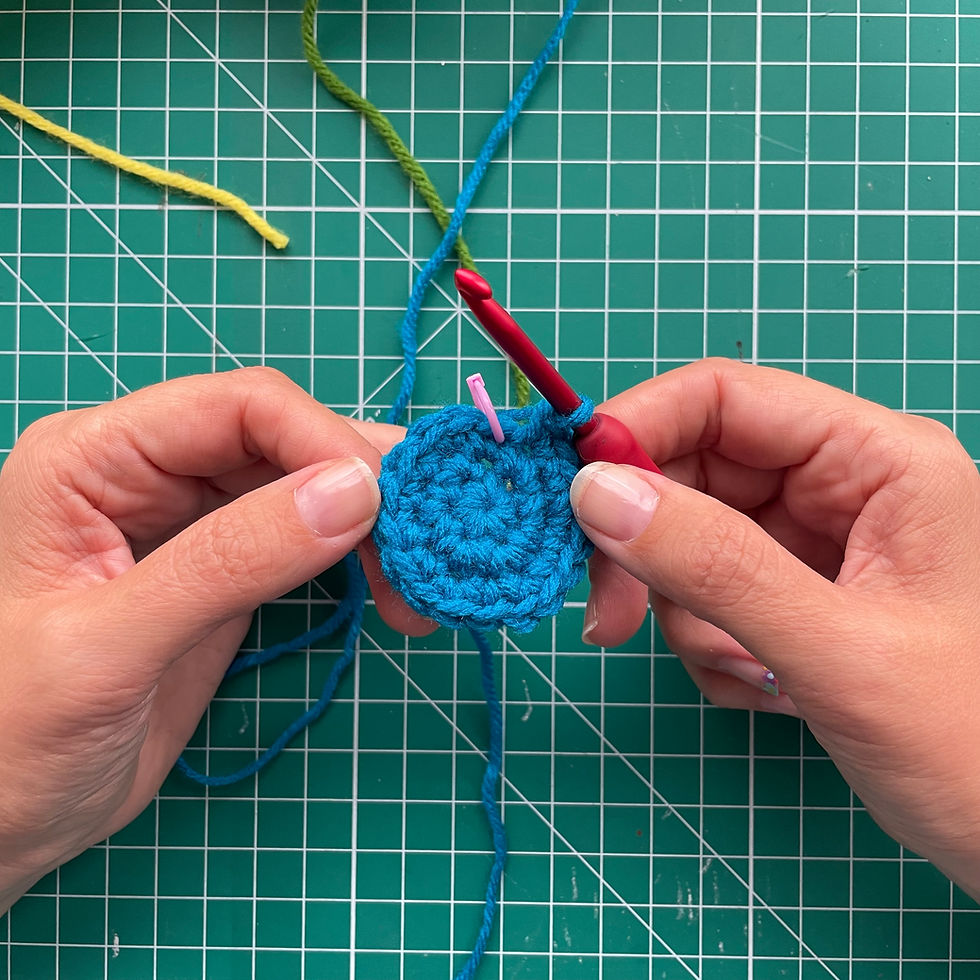
RND 1: 6SC into a Magic Ring (6) [Photo 1]

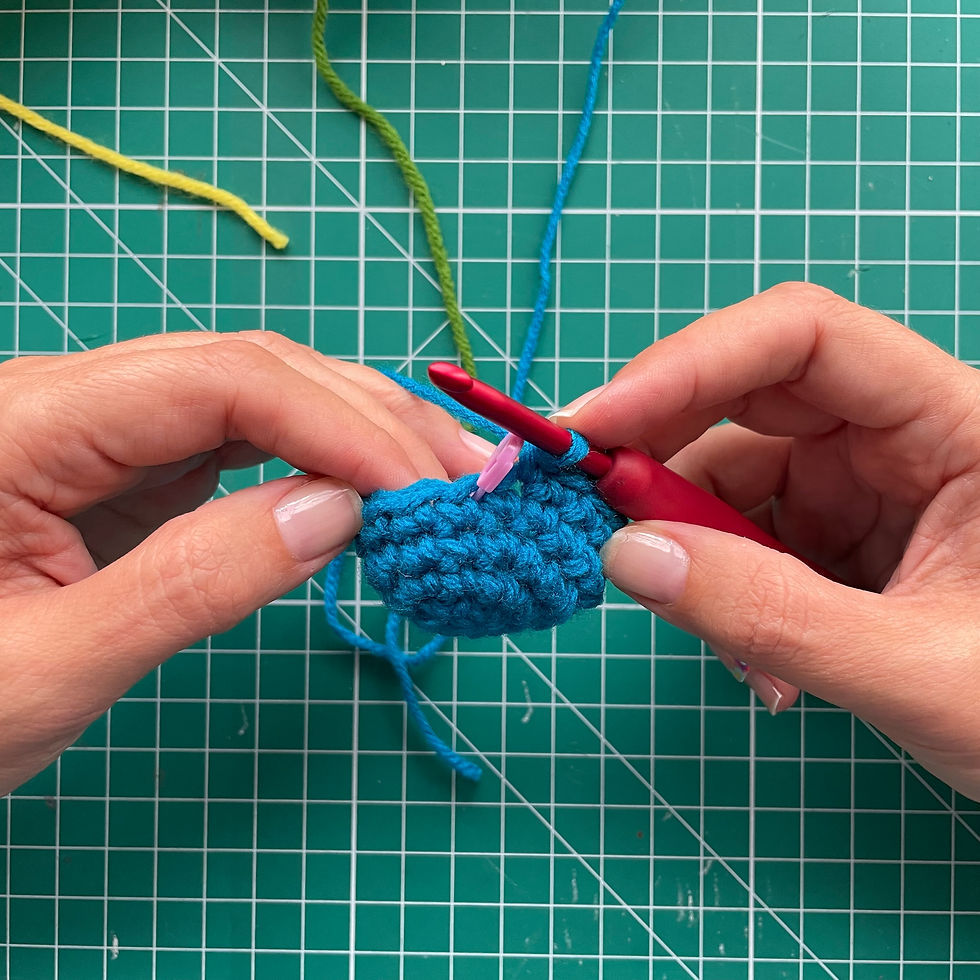
RND 2: 6INC (12) [Photo 2]

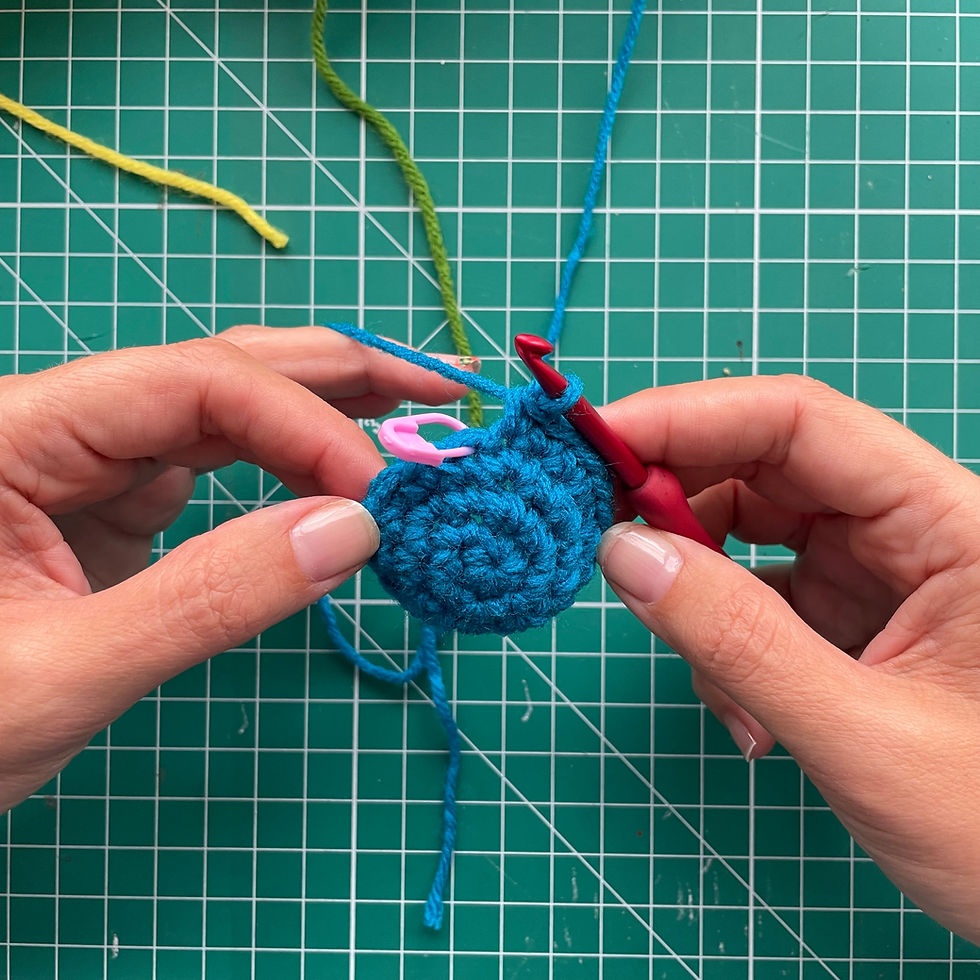
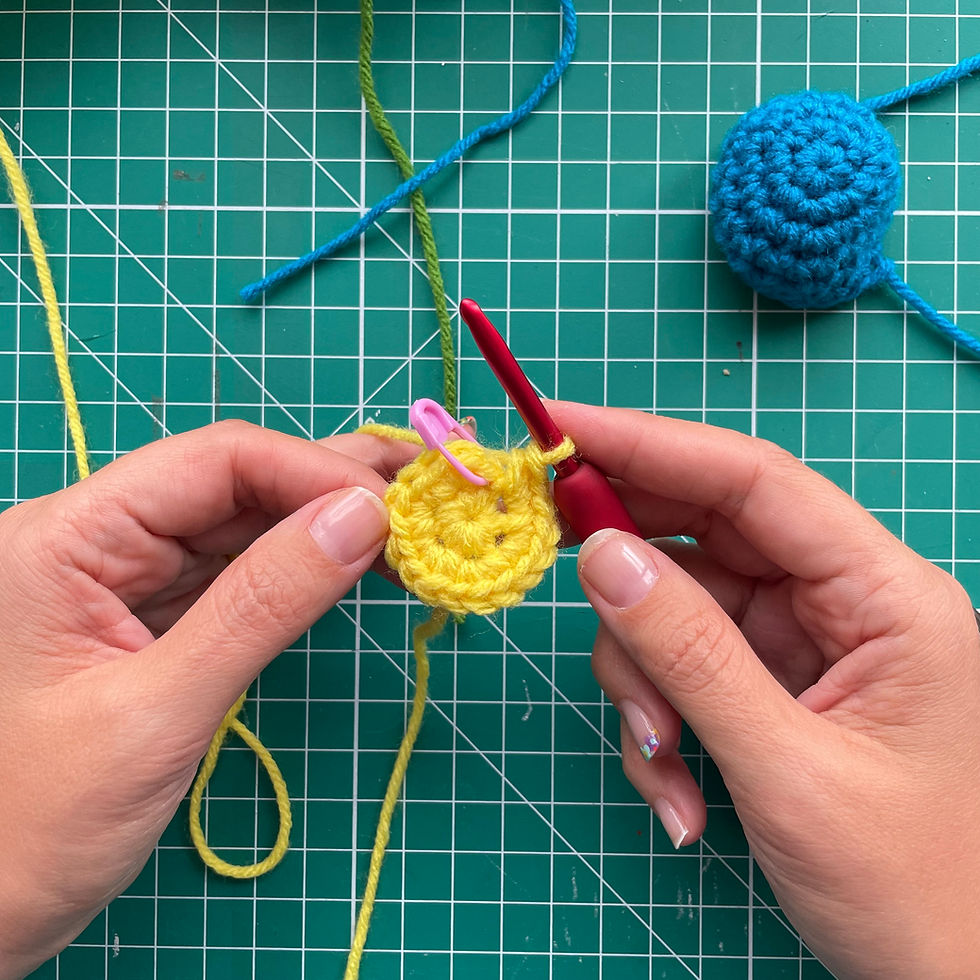
RND 3: (1SC, 1INC)x6 (18) [Photo 3]
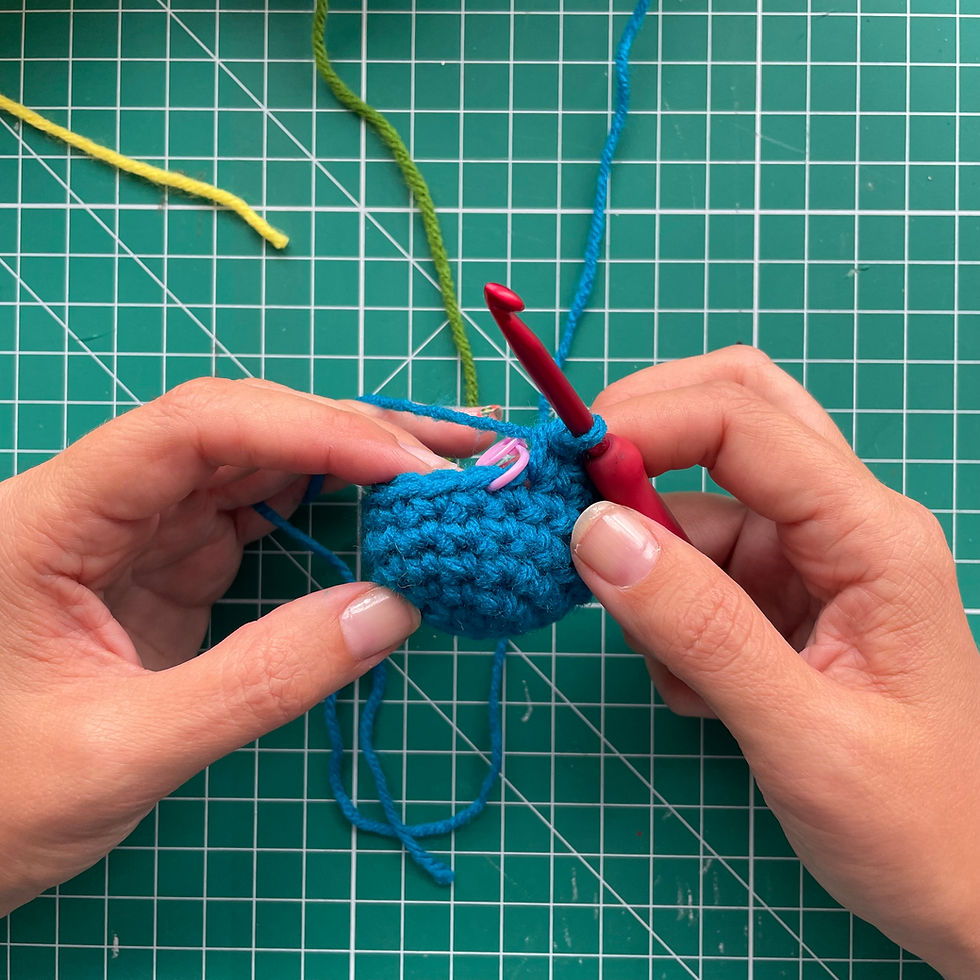
RND 4: 18SC (18) [Photo 4]
RND 5: 18SC (18) [Photo 5]
RND 6: 18SC (18) [Photo 6]
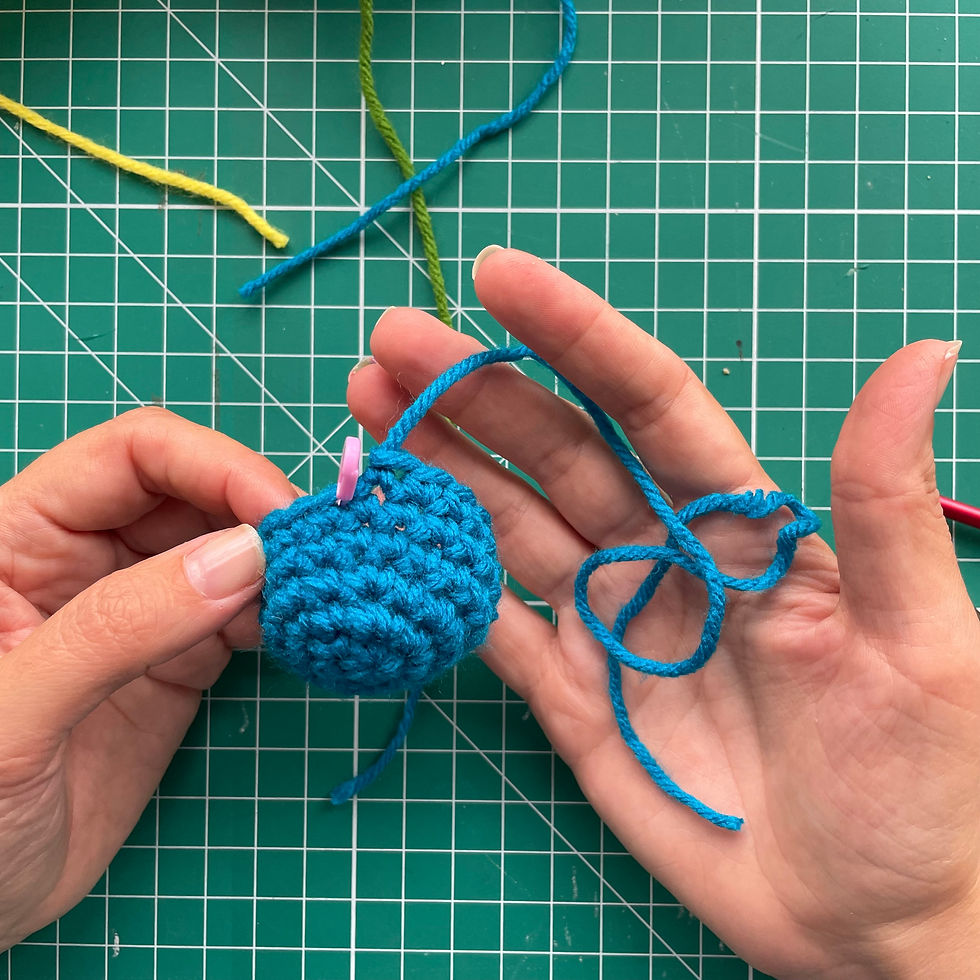
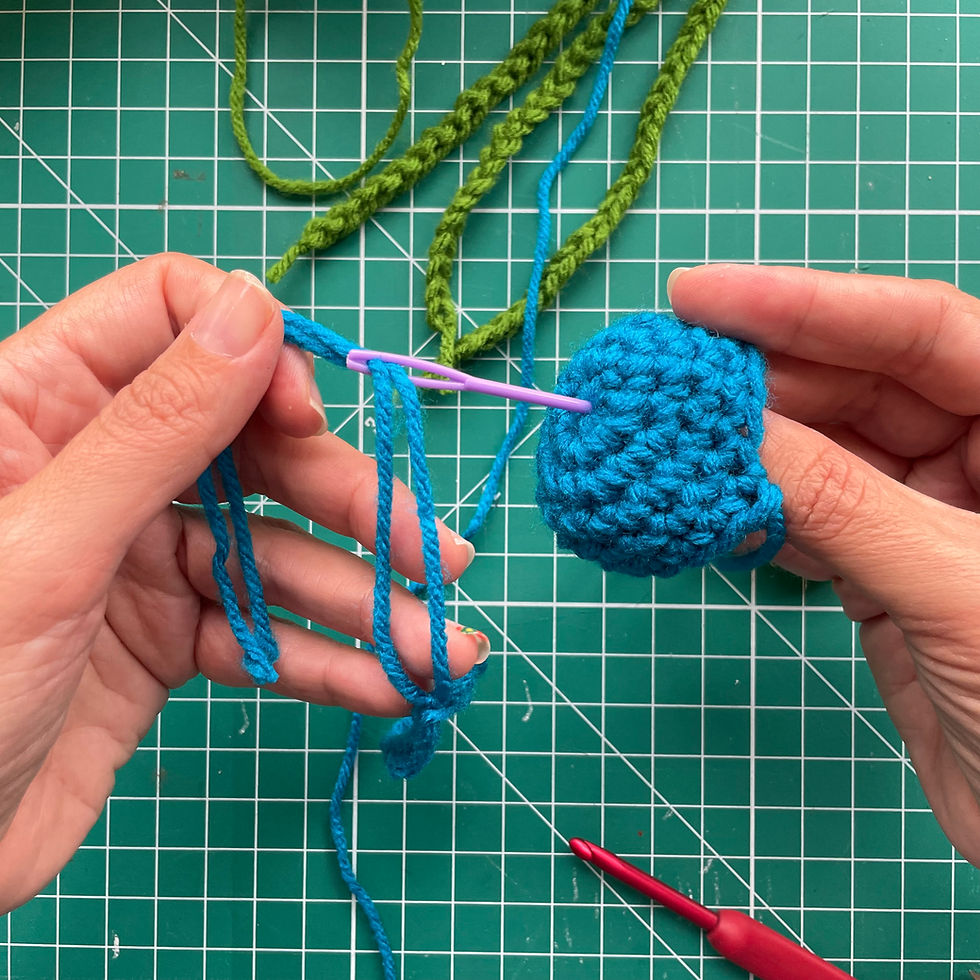
Cut yarn, pull through and leave a long tail for sewing. Set aside until assembly. [Photo 7]
Jellyfish Underbelly:
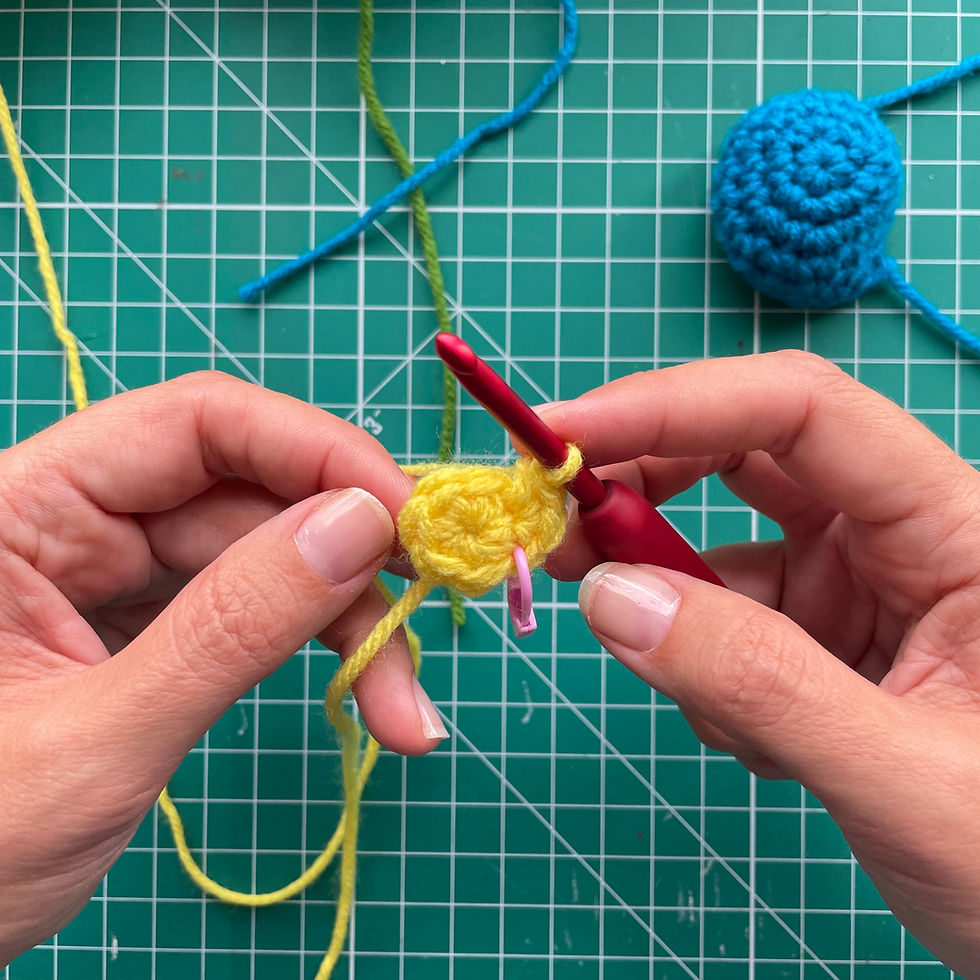
RND 1: 6SC into a Magic Ring (6) [Photo 8]

RND 2: 3SC into every stitch (18). In Photo 9 you can see I completed 3SC in the first ST, and I still have 6ST remaining to be worked. At the end of this RND you will have 18 completed STs. [Photo 10]
Cut yarn, pull through and weave in ends (no need to trim ends, they will get stuffed inside). Set aside until assembly. [Photo 11]
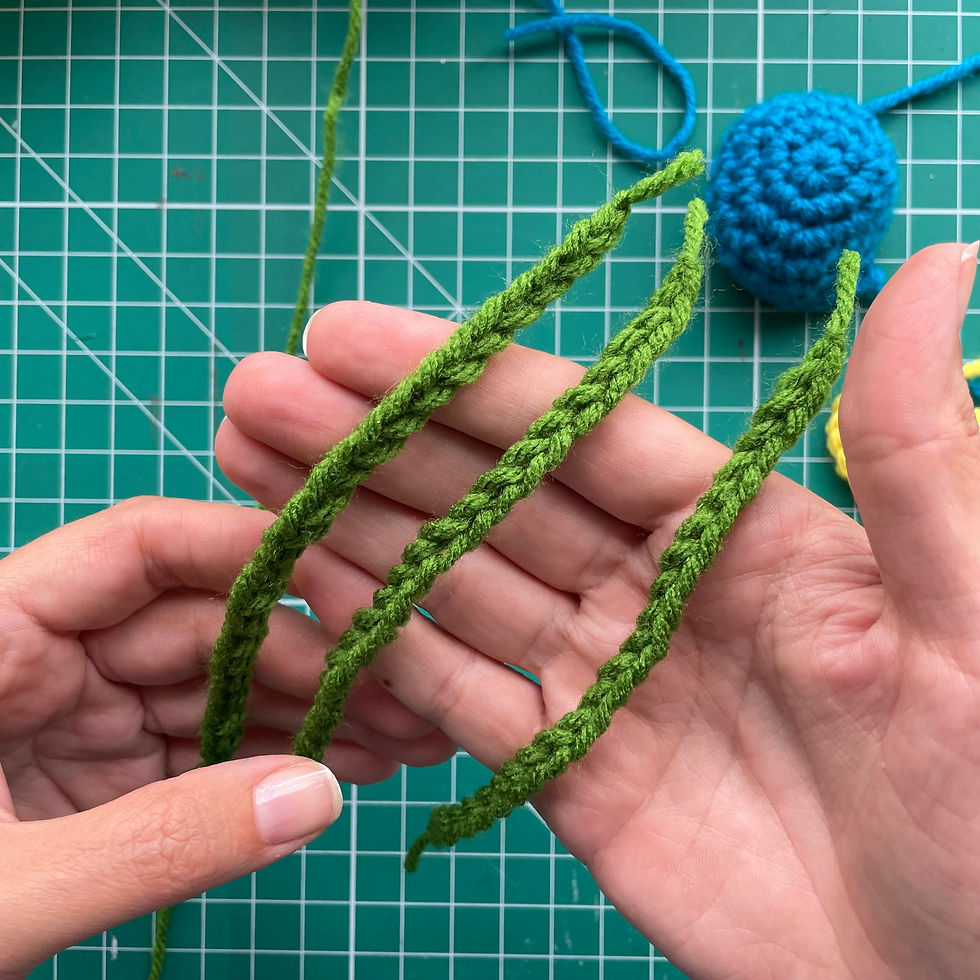
Jellyfish Legs:
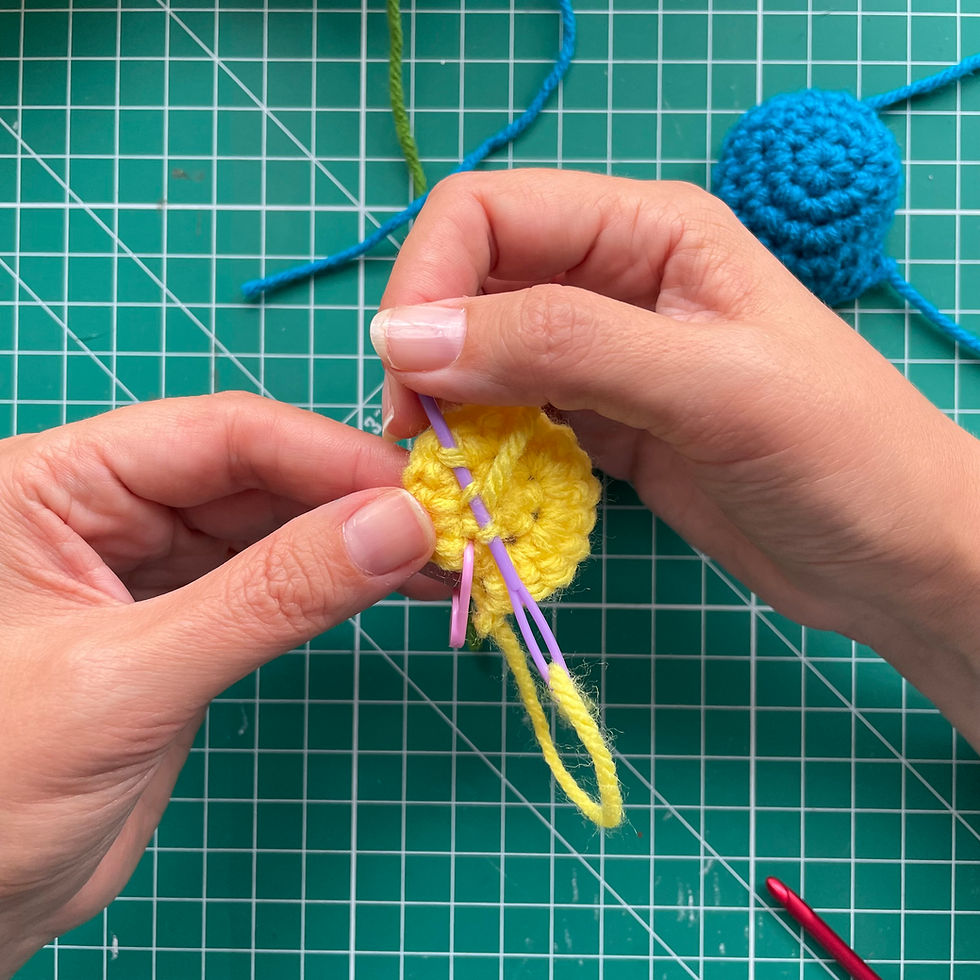
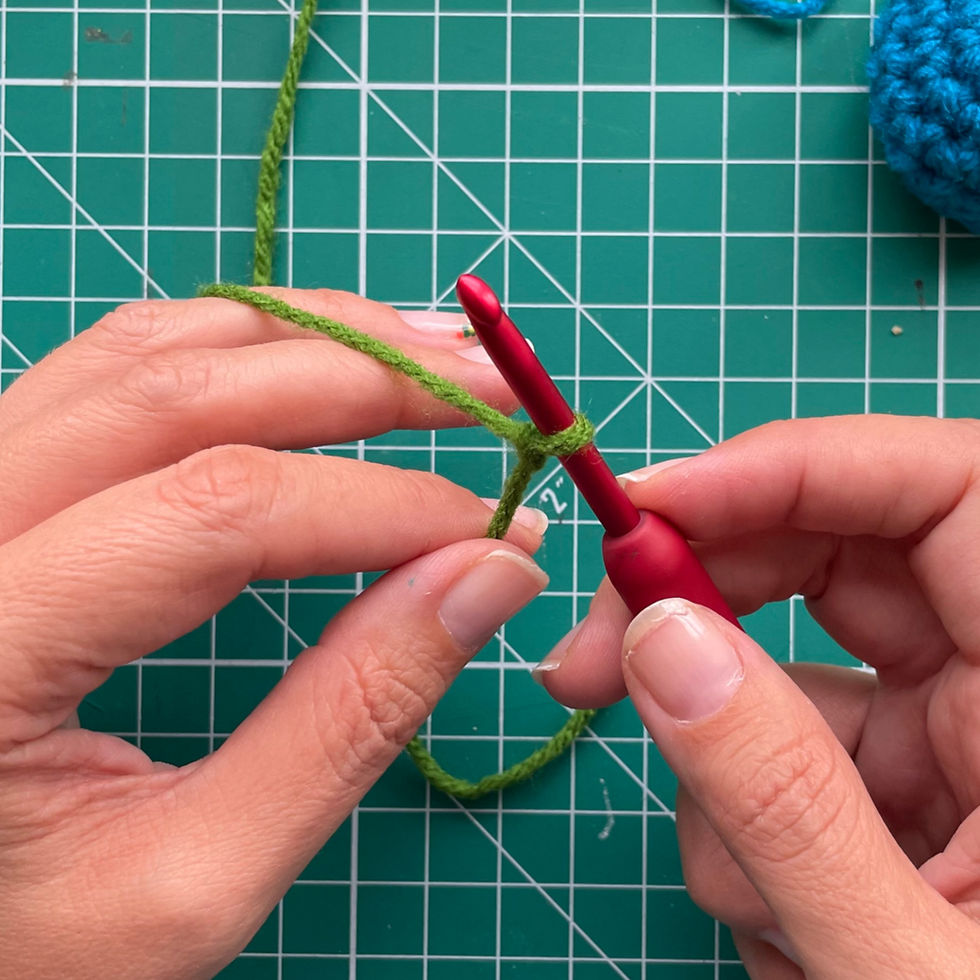
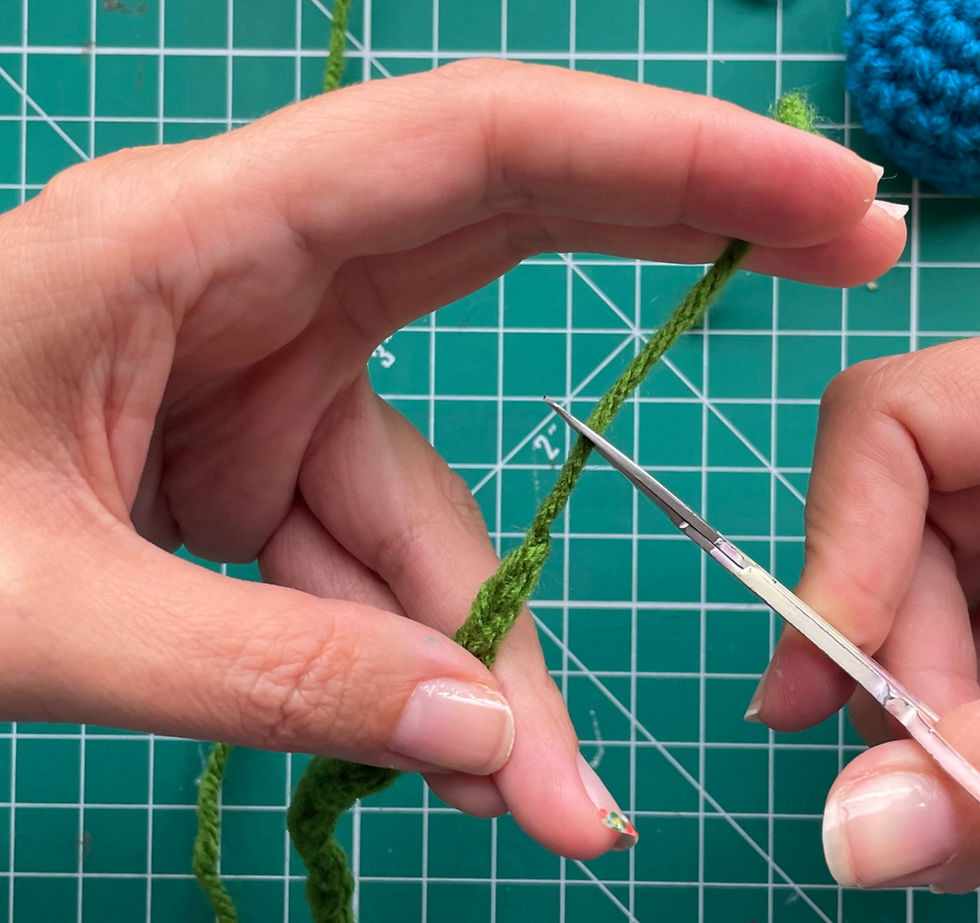
Make a slip knot, [Photo 12] and then make 24CH stitches [Photo 13], pull tight and cut with about 1/2” of a yarn tail remaining on both ends [Photo 14]. Do this three times to end up with 3 completed chains. Set aside until assembly. [Photo 15]

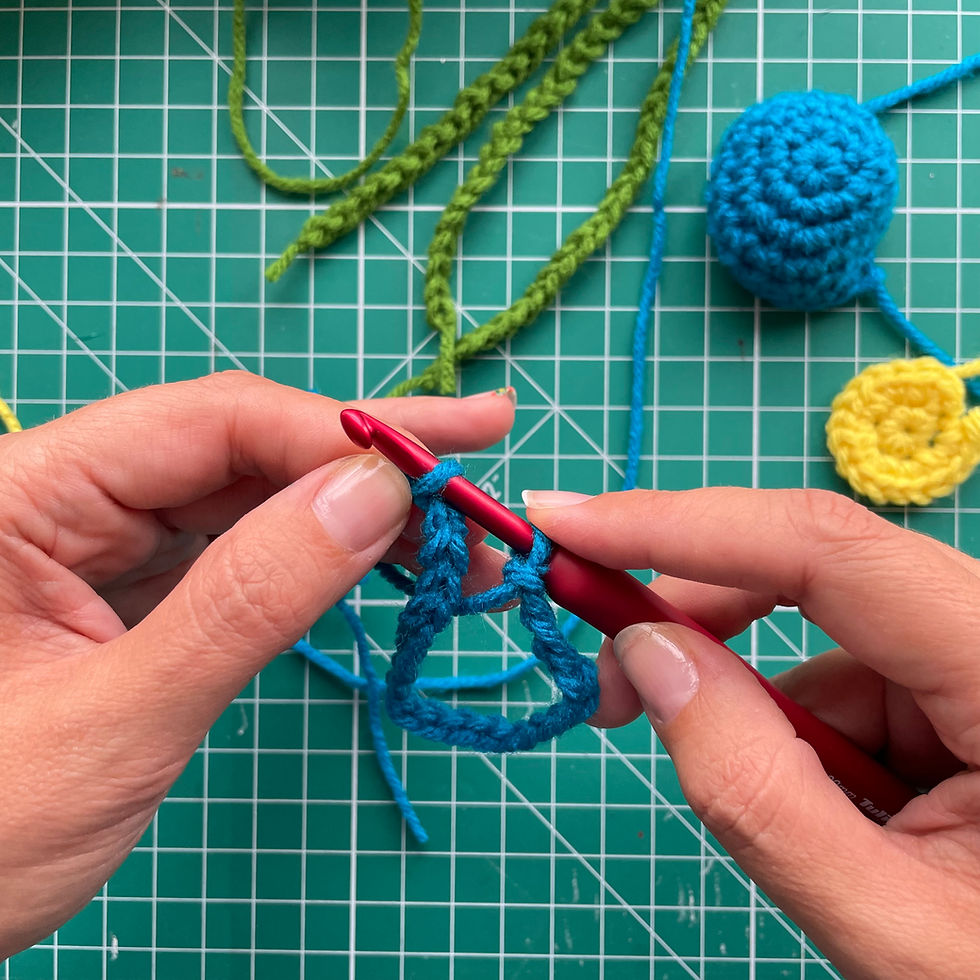
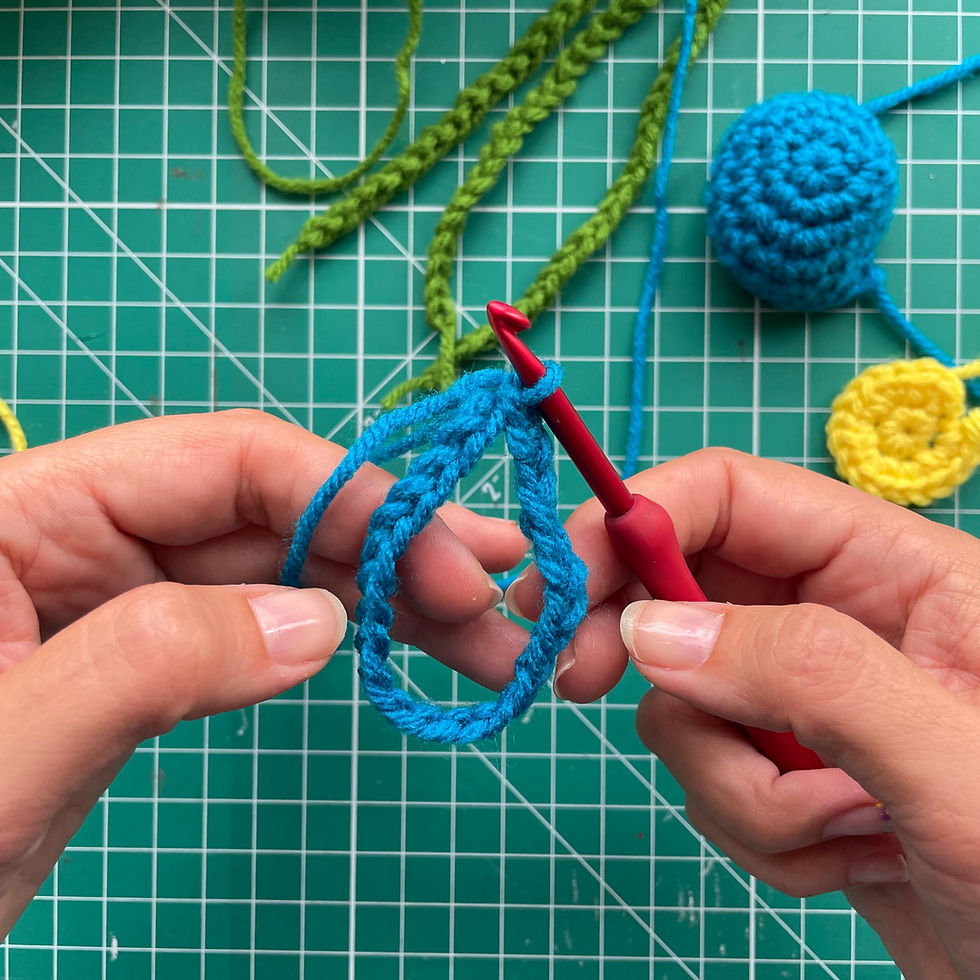
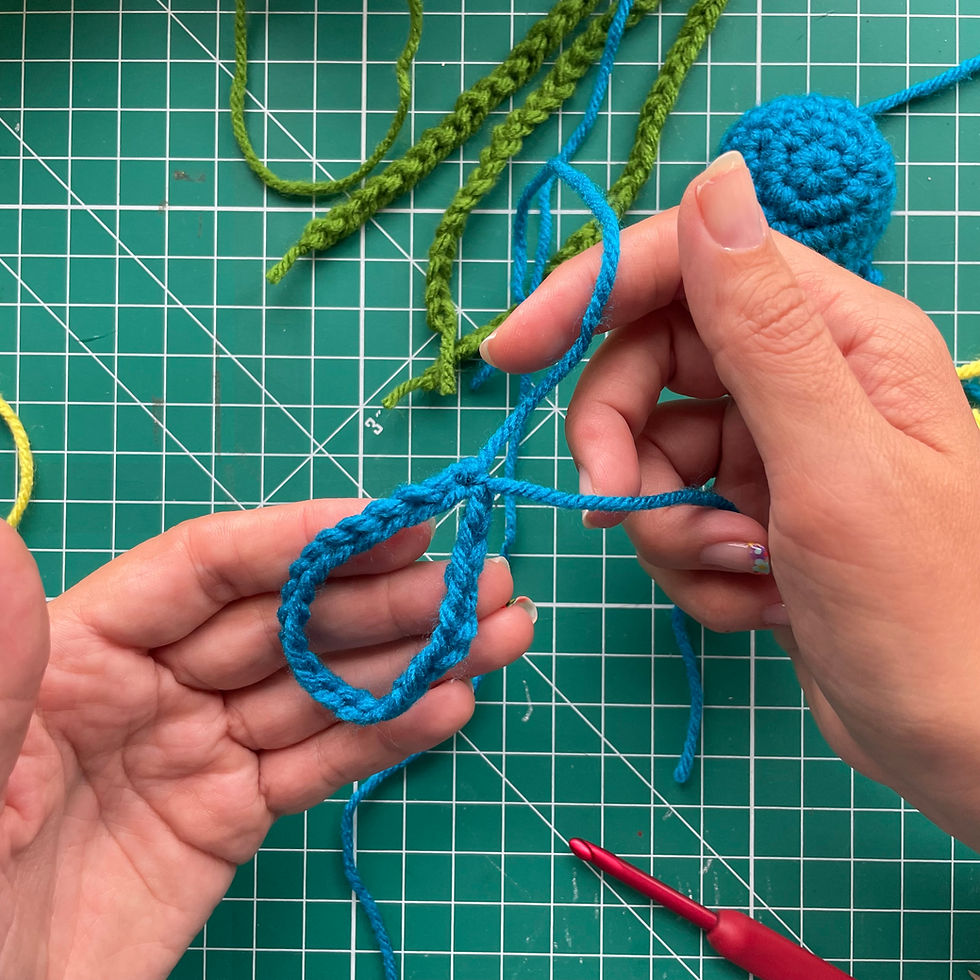
Wrist Loop:
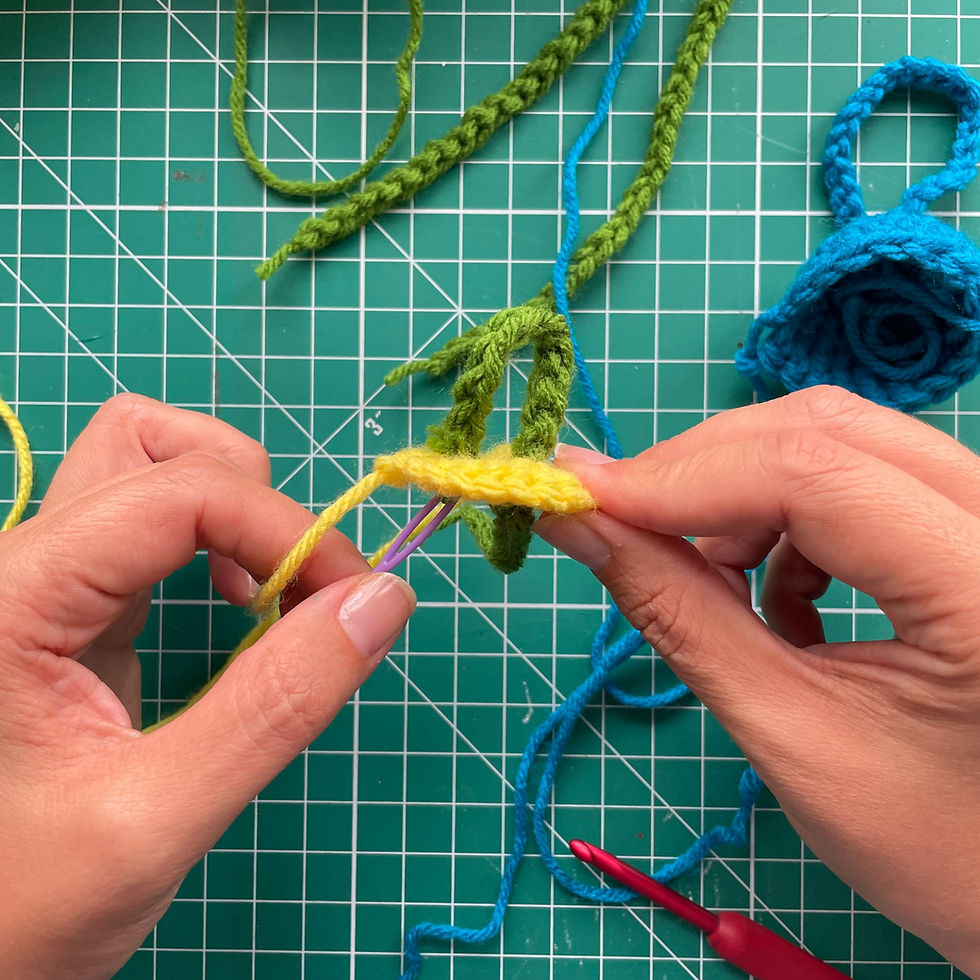
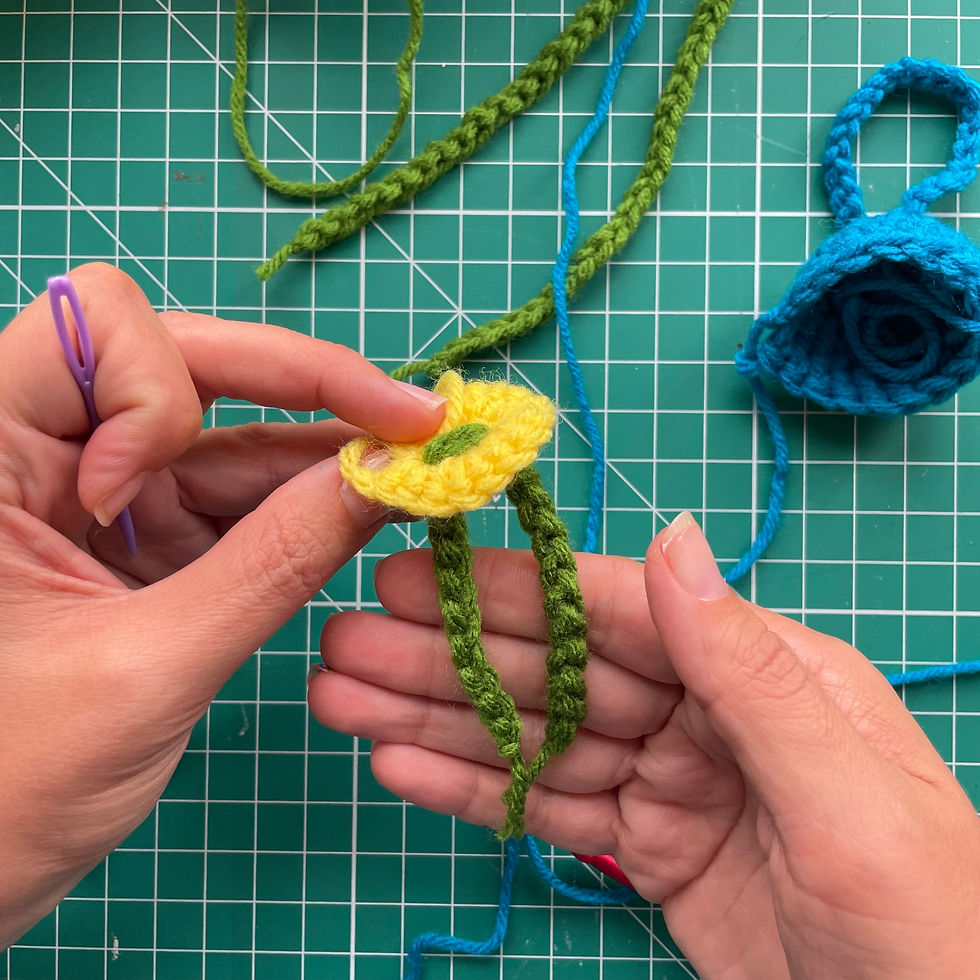
Leaving a long tail make a slip knot [Photo 16]. Depending on wrist size make 24CH-30CH stitches [Photo 17], SL ST into first CH [Photo 18-19], pull through with long tail. Tie a knot with ends [Photo 20]. Set aside until assembly.


Assembly
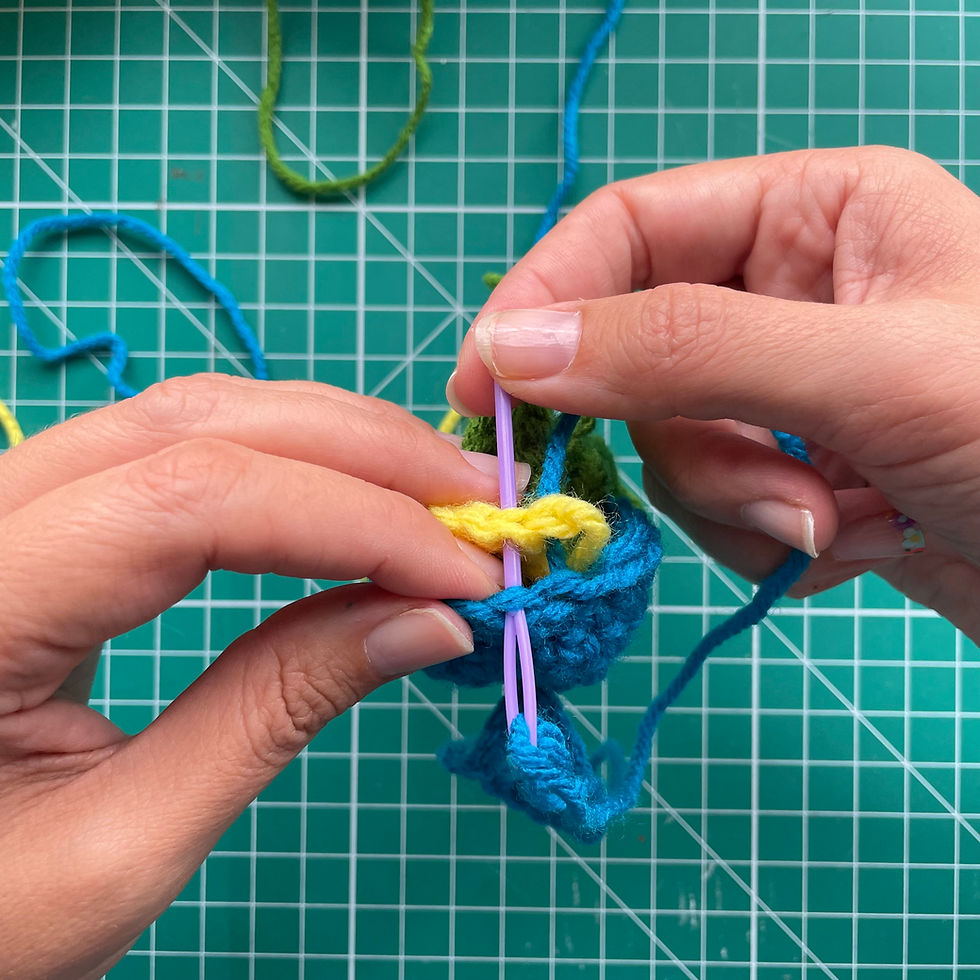
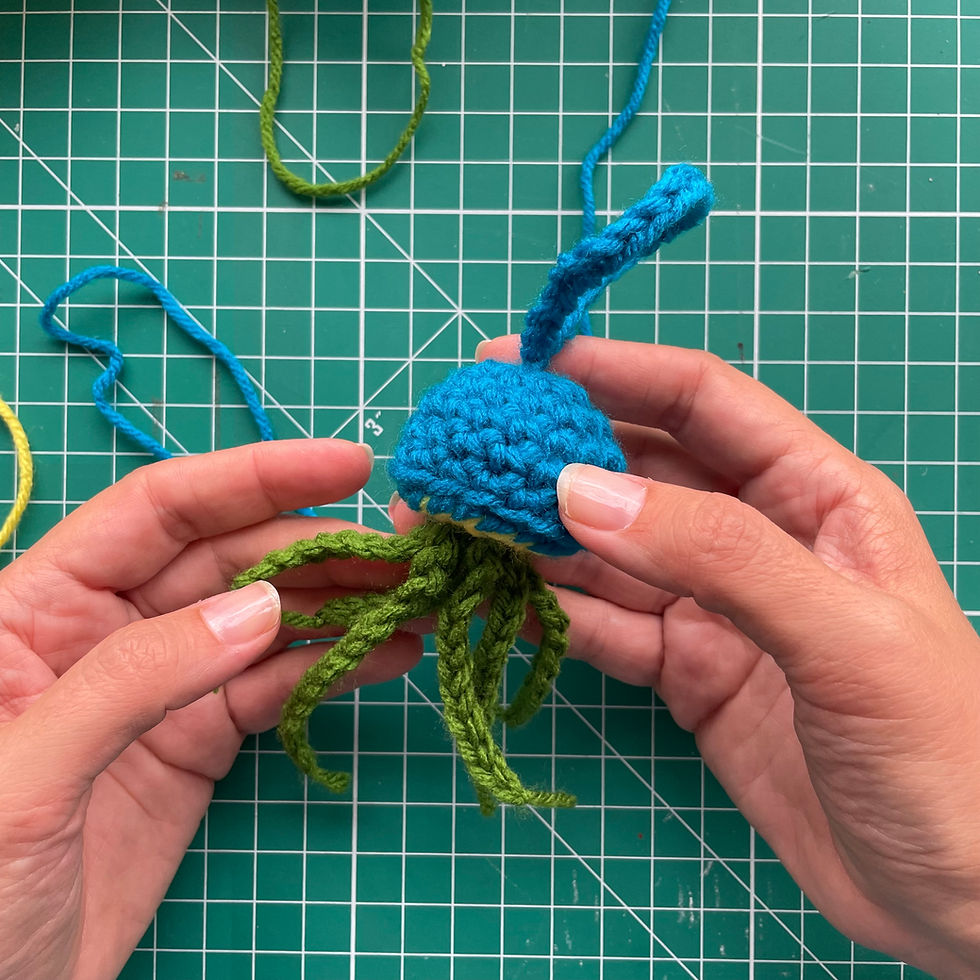
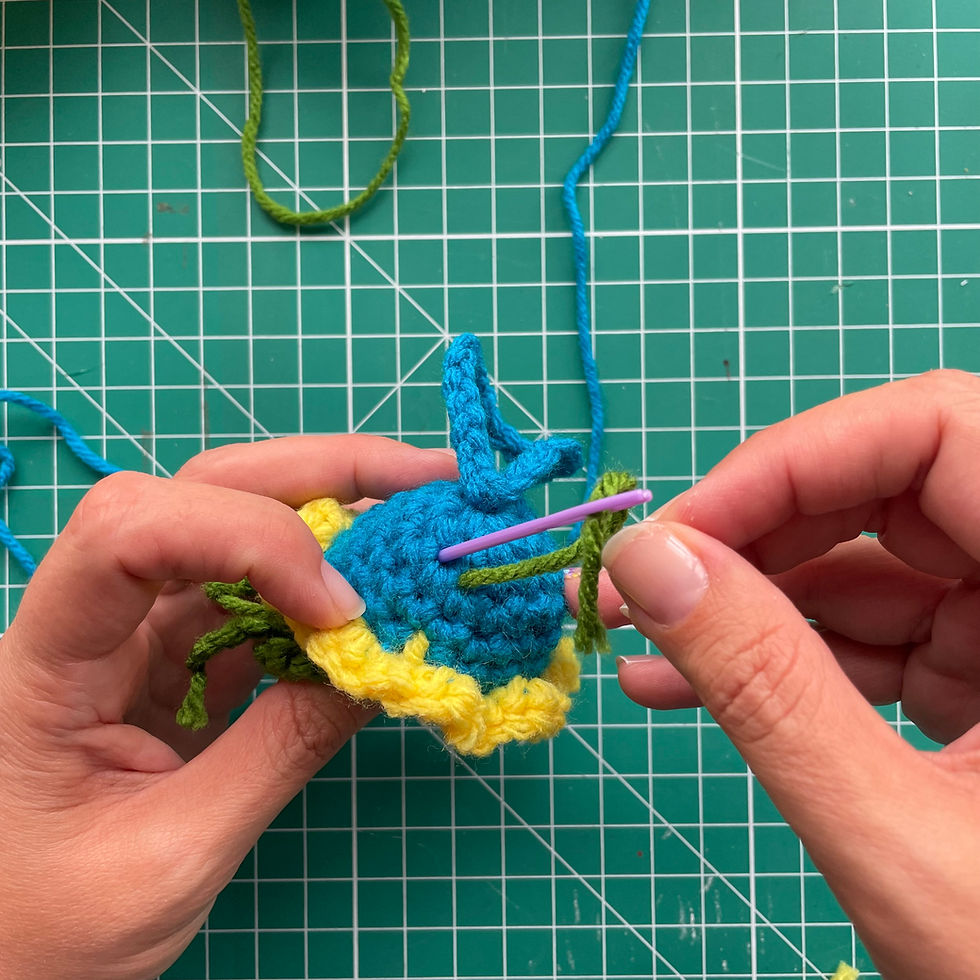
Attach Wrist Loop by pulling both ends with your darning needle through the center hole left from RND 1 of the Jellyfish Top [Photo 21], tie ends to left over yarn tail from start of Jellyfish Top and then weave in ends.
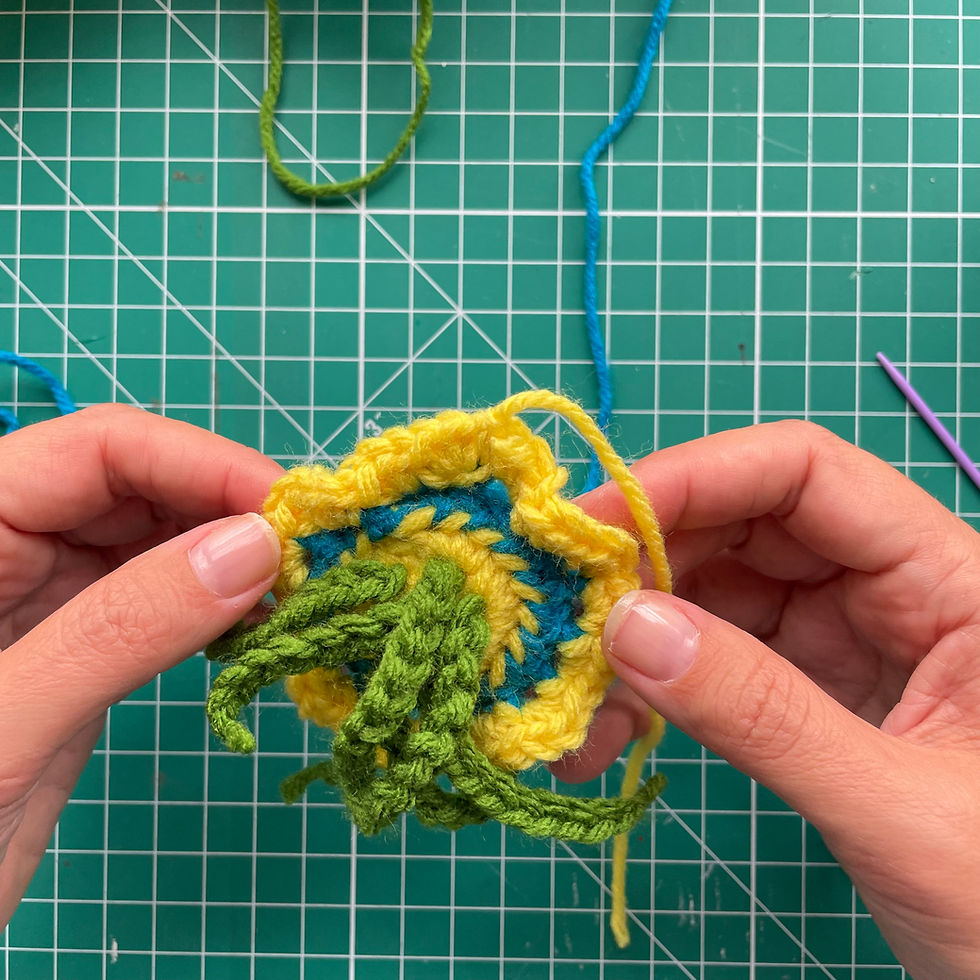
Take each of your three Jellyfish Legs one at a time. Thread one end of one chain through your darning needle and weave in and back out of the Jellyfish Underbelly, randomize where you go in an out for a more natural look. Adjust how much of each leg sticks out for a more natural look. [Photo 22-23]
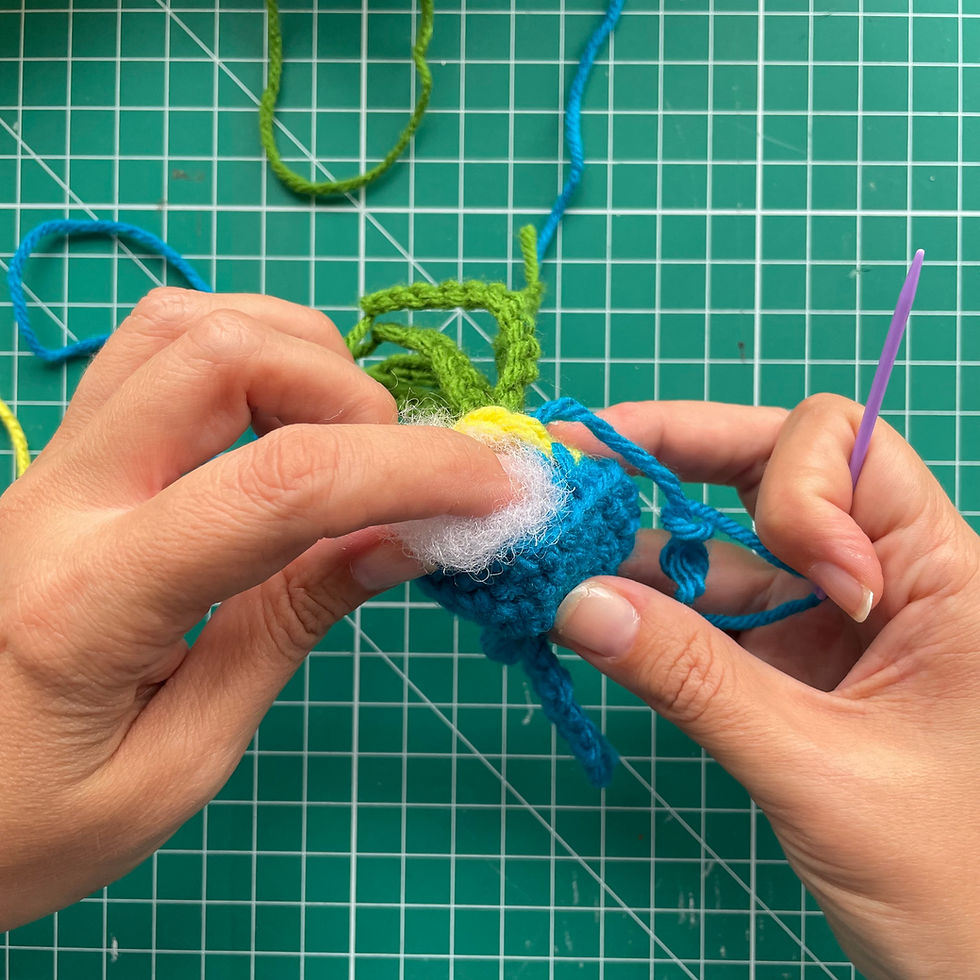
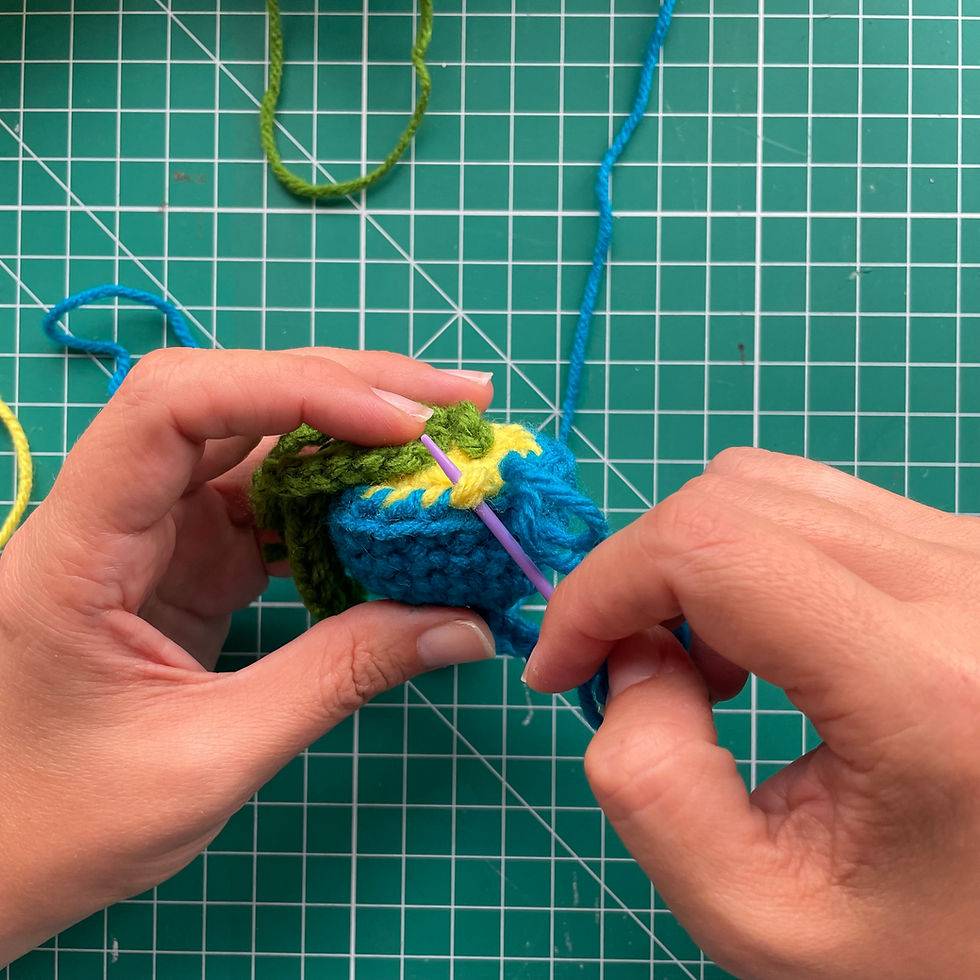
Begin sewing Jellyfish Top to Jellyfish Underbelly using left over tail from Jellyfish Top. Sew through the BLO of the Jellyfish Top and the final RND of the Jellyfish Underbelly [Photo 24]. Stop before you make it all the way around, stuff with poly-fil and any extra tails in the area [Photo 25]. Then finish sewing it shut [Photo 26]. Ultimately, you will make 18STs to close. Tie a knot and weave in your end. [Photo 27]
Optional Ruffle Around Base
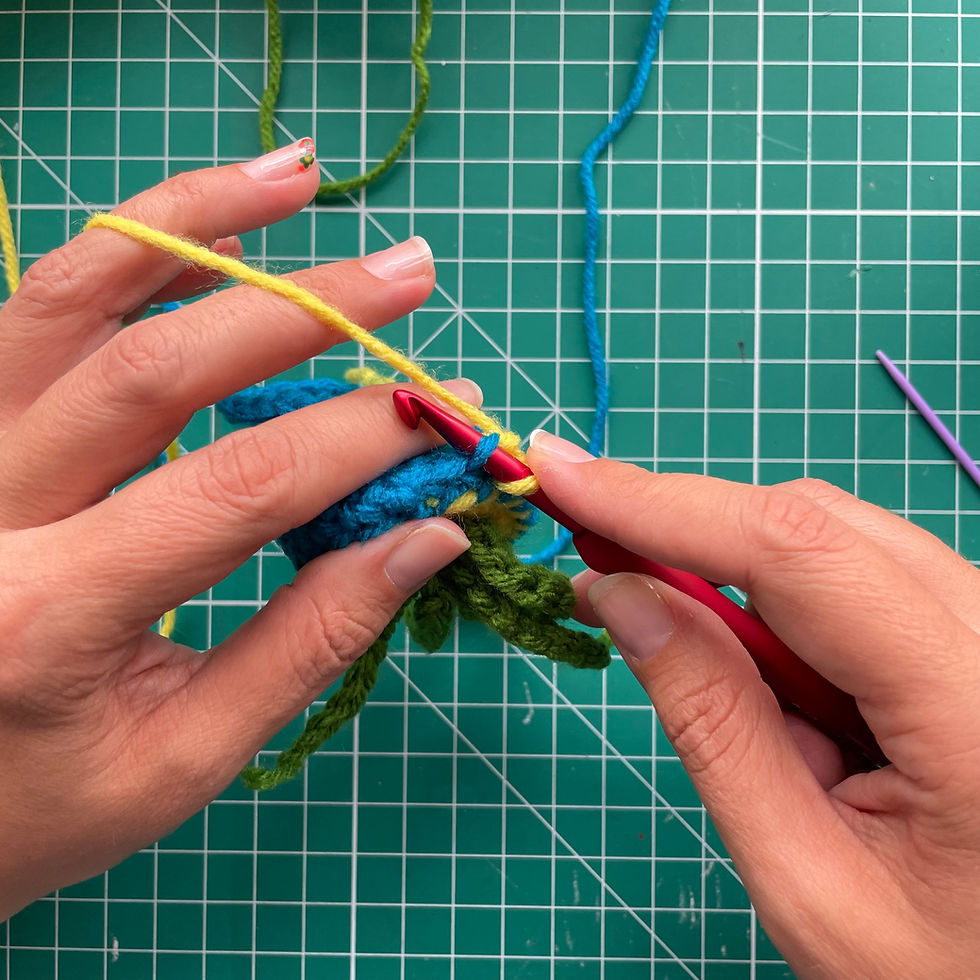
Join with a slip knot into the leftover FLO of RND 6 Of Jellyfish Top [Photo 28]. 3SC into every ST. You will end up with 54ST, SL ST to finish [Photo 29. Weave in ends.
Optional Color Flecks
Using scrap yarn, weave in and out of body to add color flecks [Photo 30]. Trim ends.
Enjoy your finished Mini Jellyfish!


Comments